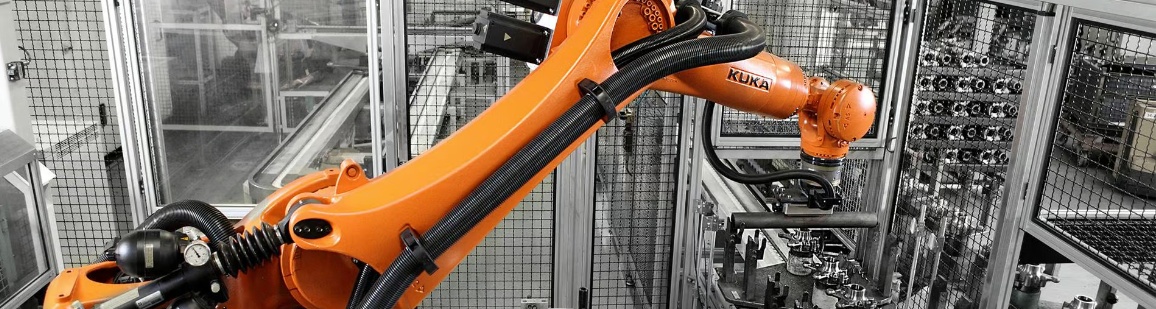

The following is the detailed process for repairing motor gears of KUKA robots, which is explained step by step in combination with technical specifications and key operation points:
1. The preparation stage before maintenance
Safety protection
Wear professional protective equipment: anti-crush safety shoes, insulating gloves, goggles, and long hair should be tied into the work cap.
Execute the power-off locking program: Turn off the main power supply of the robot, hang a "Do Not Close" warning sign in the control cabinet, and use a voltage tester to confirm that there is no residual current.
Tool and material preparation
Specialized tool set: Torque wrench (accuracy ±3%), hex socket wrench set (T10-T30), gear puller, dial indicator.
Consumables list: Gears, bearings, seals consistent with the original factory specifications, high-viscosity synthetic lubricating oil (such as Shell Omala S4 GX 220), industrial cleaning agent (pH value 7-9).
Fault diagnosis
By KUKA SmartPad read the fault code, combined with vibration analyzer (such as 100 - SL SKF CMAS) gearbox vibration spectrum.
The infrared thermal imager scans the temperature distribution of the box to identify overheated areas (normal operating temperature ≤75℃).
2. Disassembly and cleaning process
Structure decomposition
Mark the original position: Use a marker pen to mark the orientation of gears and bearing housings to ensure the accuracy of reinstallation.
Sequential disassembly: Operate in the sequence of "cover → drive shaft → gear set → bearing", and use gears to pull codes to avoid axial impact.
Deep cleaning
Ultrasonic cleaning: Immerse the components in a dedicated cleaning tank (frequency 40kHz, temperature 50℃) to remove stubborn oil sludge.
Compressed air purge: Use 0.6MPa oil-free compressed air to clean the threaded holes and oil passages, with residue detection ≤0.5mg/cm².
3. Maintenance standards for Key components
Gear inspection
Tooth surface check: the use of gear tester, such as MAHR MarGear GMX 400) tooth shape error (0.02 mm) or less, tooth error (0.015 mm) or less.
Hardness test: hardness tester of tooth surface hardness on the Richter scale (HRC58-62), is lower than the standard value should be the overall change.
Bearing evaluation
Clearance measurement: Use a bearing radial clearance measuring instrument. The standard value range is (0.01-0.03mm). If it exceeds this range, replacement is required.
Microscopic inspection: Observe the raceway surface with a 50x magnifying glass. If there is pitting (area > 1mm²) or peeling, it is determined to be failed.
Maintenance of the sealing system
Seal type: according to the original code match lip structure and the parameters of the spring tension, replace o-rings should be coated silicon grease.
Leakage test: After assembly, fill with 0.2MPa nitrogen and maintain pressure for 12 hours, with a pressure drop of no more than 0.005MPa.
4. Assembly and commissioning specifications
Precision assembly
Bearing pre-tightening: Use a hydraulic nut (with a pressure of 150bar) to eliminate the bearing clearance. The torque value should refer to the KUKA technical manual (with an error of ±5%).
Gear pairs: laser alignment instrument adjusting shaft concentricity deviation (0.02 mm) or less, the phase Angle error is 0.05 ° or less.
Construction of Lubrication system
Oil volume control: Confirm the oil filling volume (35%-40% of the gearbox volume) through the oil dipstick to avoid oil loss caused by excessive oil level.
Oil compatibility: the new lubricating oil should be carried out and the residual oil compatibility test (ASTM standard D6186), preventing sludge generated.
Functional verification
No-load test run: Run at 25%-50% of the rated speed for 2 hours, and monitor the bearing temperature (temperature rise ≤15℃/h).
Load test: Load step by step to 120% of the rated torque, and record the vibration acceleration (≤0.3g) and noise level (≤75dB(A)).
5. Acceptance and document management
Performance acceptance
Transmission efficiency test: Magnetic powder brake loading is adopted, with an efficiency of ≥94% (referring to ISO 6336 standard).
Durability of validation: the continuous running 72 hours, time between failures (MTBF) 8000 hours or more.
Technical document archiving
Update maintenance records: including replacement component numbers, torque values, and clearance data, and generate electronic reports using the KUKA KRC4 system.
Establish a maintenance baseline: Store the vibration spectrum and temperature curve in the predictive maintenance database as a reference for the next maintenance.